Homemade Leaf Collector with materials right from home!
Tuesday, October 11, 2011
Wednesday, May 4, 2011
Monday, April 25, 2011
Friday, April 22, 2011
Monday, April 18, 2011
Two Pigs and a Rooster
We got a couple of Pigs this year! They are way too fun!
One pig will go to the Marquette County Fair and the other is the "family pig".
We had a bit of time before we got our pigs to make a temporary pen in our hoop house.
We decided to build a temporary pen until the snow melts, then we will put up fencing and a moveable shelter elsewhere. Mojo and the kids got to work with pallets as walls inside the hoop.
Below is the piggy bed.
Seeds n' Spores Family Farm went to pick up all the pigs...13 of them total and brought them back to the farm. Six of the pigs will end up being "Fair" pigs.
Morgan, Kiah and Niikah checking out the organic feed.
We brought our own bins, so we will dump the bags and weigh accordingly.
Kiah found the little peeps in the greenhouse!
Kiah wrestlin' a pig out of the trailor and into the back of our truck. The kids are cheering her on!
Ziggy Maurice Stardust, our rooster, welcomes the pigs to their new home.
They love each other so much.
Checkin' out their new piggy pen.
Good night!
Labels:
birchleafdesigns,
chickens,
county fair,
homestead,
pigs,
roosters
Wednesday, April 6, 2011
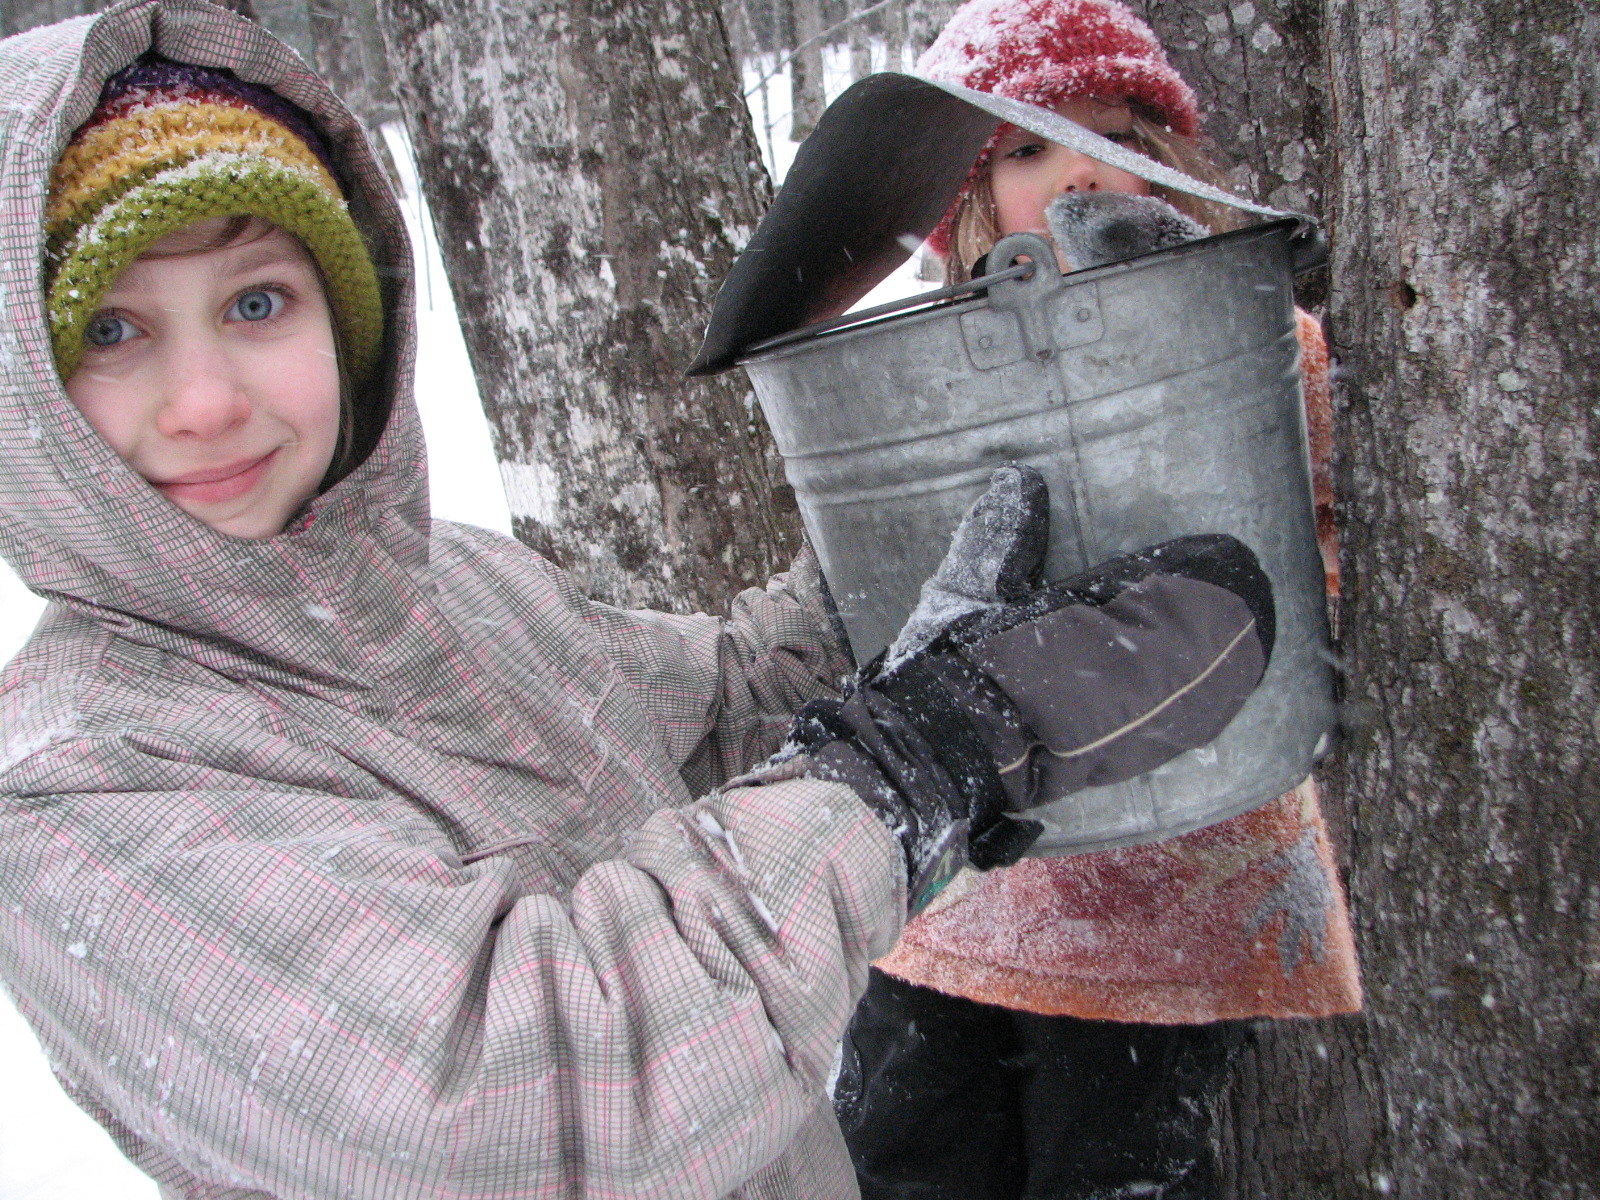
Wednesday, March 30, 2011
Taking Volcano Building to the Next Level
How to build a volcano with Plaster of Paris
by Kiah and Milo
(special thanks to storm the castle)
Here we go...
First, get a cardboard box and cut it how you want it. It is helpful if you keep the sides up a little and the back at least as tall as the volcano. This will prevent a huge mess and allow you to draw a picture on the back of the inner workings of a real volcano. You will also want to cut a hole on the bottom of the box so you can remove the plastic bottle for cleaning later.
Next, take a plastic bottle and wrap it in a plastic bag (so it doesn't stick to the plaster of paris).Lastly, cut out a bunch of cardboard strips to place around the bottle like Milo is doing.
Place the strips in a fashion that looks similar to a volcaco and tape them all together.
Next, stuff your cardboard volcano with wads of newspaper.
Measure the water...
Mix away...
After the water has been added to the plaster, be sure to work quickly as the plaster will set up quick! Begin to dip strips of newspaper in the plaster mix and then carefully place pieces on the cardboard volcano. Try to keep them as smooth as possible while overlapping them different ways.Keep mixing up plaster of paris in small batches until you have enough to cover your entire box and volcano.
Let the plaster sit until it is completely dry...about a day or two.
Then get out the acrylic paints and have fun! Paint scenery if you like...we used red, yellow, blue, green, brown, and grey.Voila! This volcano is ready for action! We will take out the bottle from the plastic bag, put the bottle back in the volcano and add the ingredients for a great explosion!
For the explosion, we suggest you do it outside the first time!
Here are the ingredients for those of you that just can't wait for the next volcano eruption post...
1.Take the bottle out of the volcano and fill it just about full with water.
2. Put 4 or 5 drops of Dr. Bronner's Liquid Soap or any dish soap right into the water.
3. Add 2 Tablespoons of Baking Soda to the water.
5. Pour some vinegar right into the volcano bottle and watch it Erupt!!
Subscribe to:
Posts (Atom)


